
A monitor calibrator is not just a tool for Hollywood editors; it is the only way to know that what you see is what you actually get.
I still remember the day I realized my eyes were lying to me.
I had just spent three hours editing a portrait session sitting in my home office chair. On my screen, the skin tones looked golden, the shadows were rich, and the contrast was perfect.
Excited, I sent the files to the print shop. When I got the prints back, I was horrified. The subjects appeared to have sunburns, and the beautiful shadows were reduced to black blobs.
I blamed the printer. I blamed the lighting. But eventually, I realized the problem was sitting right on my desk: my monitor.
What Is a Monitor Calibrator and How Does It Work?
A monitor calibrator is a small hardware device that hangs over your screen to measure and fix color inaccuracies.
Think of it like a musical tuner for your display. Just like a guitar goes out of tune over time, your monitor’s colors drift.
You can’t tune a guitar effectively by ear, and you can’t tune a monitor with your eyes because our eyes adapt to color casts (e.g., a yellow room starts looking white after 5 minutes).
Below, I have compared the top options available to help you decide if you need one and which one best fits your workflow.
Best Monitor Calibrators
If you are in a hurry, here is how the top three current models compare to each other.
| Feature | Datacolor Spyder X2 Ultra | Calibrite Display 123 | Calibrite Display Plus HL |
| Best For | HDR & High-Brightness Users | Beginners / Hobbyists | Professionals / OLED Owners |
| Difficulty | Medium (Detailed options) | Very Low (One-click) | High (Advanced features) |
| Brightness Limit | 2,000 nits | 1,000 nits | 10,000 nits |
| Speed | ~2 Minutes | ~5 Minutes | ~2 Minutes |
| Price Tier | Mid-Range | Budget-Friendly | Premium |
| Our Rating | (4.8/5) | (4.2/5) | (4.9/5) |
Datacolor Spyder X2 Ultra
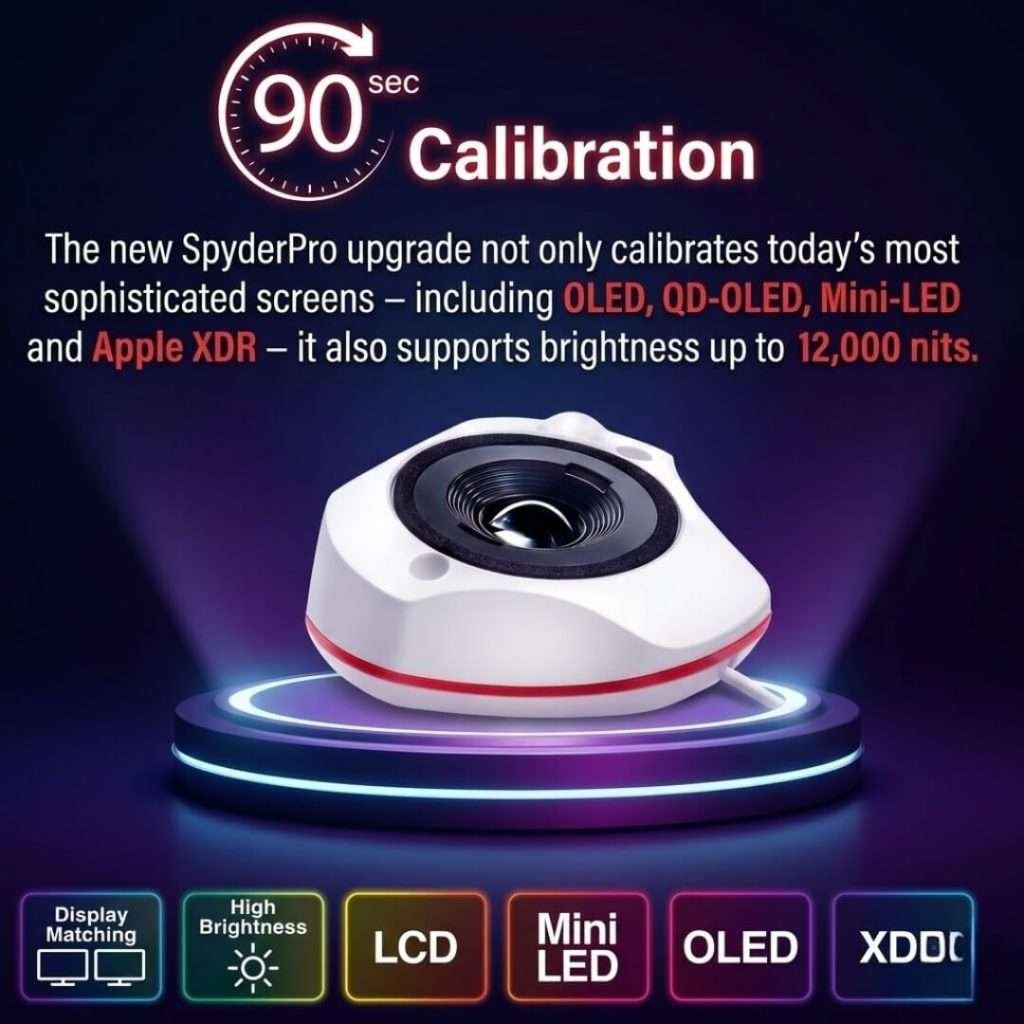
Best For: Serious content creators and users with bright HDR monitors.
The Datacolor Spyder X2 Ultra is currently one of the most reliable workhorses on the market.
I have used the Spyder series for years, and the X2 is a significant jump forward because it addresses the modern trend of “High Brightness” monitors.
My Experience:
Setting up the Spyder X2 is straightforward. You plug it into a USB-C port (it comes with a USB-A adapter), launch the software, and hang the device. What I love about the X2 is the speed.
It calibrated my dual-monitor setup in under 5 minutes total. The software guides you through everything, asking if you want to match multiple monitors.
The “Ultra” version specifically handles brightness up to 2,000 nits. This is essential if you have a modern Apple Studio Display or a high-end gaming monitor. Otherwise, older calibrators often fail to read these bright screens correctly.
Pros:
High Brightness Support: Handles screens up to 2,000 nits (great for HDR).
Fast: completes a full calibration in about 2 minutes.
Room Light Monitoring: The sensor measures the light in your room and automatically adjusts the screen brightness.
Before/After View: Displays a comparison image, allowing you to see the difference immediately.
Cons:
Cable Length: The cable is standard length, but it can be tight if your PC tower is on the floor.
Software UI: The interface appears somewhat dated compared to modern apps, although it functions perfectly.
Verdict: If you are editing video or photos on a modern, bright screen, this is the safest investment. It balances price and performance perfectly.
Calibrite Display 123
Best For: Beginners, Students, and Casual Users.
If the idea of “color curves” and “gamma settings” scares you, the Calibrite Display 123 is built for you.
Calibrite (formerly X-Rite) was specifically designed for individuals who want accuracy without the headache.
My Experience:
This is the smallest device on the list—it’s tiny! The philosophy here is “set it and forget it.” I tested this on my laptop, and the process was incredibly simple. You don’t choose target settings or white points; you just click “Calibrate.” The software does the rest.
It is perfect for someone who just wants their screen to “look right” without needing to learn color science.
However, be aware that you cannot fine-tune the settings. If you want a specific white point (such as D50 for print work), this won’t allow you to do so. But for 90% of users, the default standard (D65) is exactly what you need.
Pros:
Incredibly Easy: One-click operation. No technical knowledge needed.
Price: Significantly cheaper than “Pro” models.
Compact: accurate and easy to store in a laptop bag.
Cons:
No Customization: You cannot change target settings (Gamma, White Point).
Lower Brightness Limit: Struggles with super-bright HDR displays (capped around 1,000 nits).
Verdict: The “easy button” for color correction. Ideal for those just starting out or looking for a quick fix for a laptop.
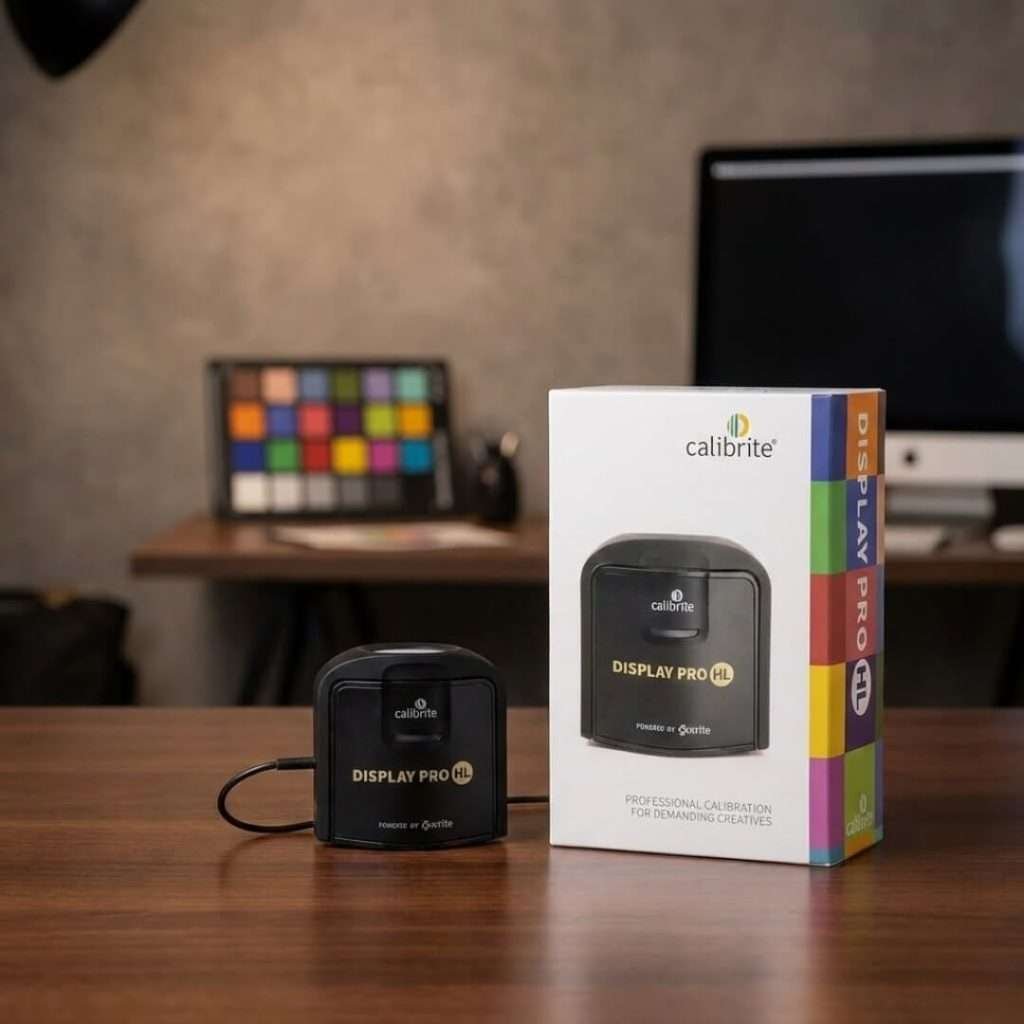
Calibrite Display Plus HL
Best For: Professionals, OLED Owners, and Future-Proofing.
The Calibrite Display Plus HL (High Luminance) is the heavy hitter. This device is designed for the cutting-edge displays, specifically Mini-LED and OLED panels.
My Experience:
When I switched to an OLED monitor for deep blacks, my old calibrator struggled to read the shadow details.
The Plus HL is designed to measure up to 10,000 nits. This is essentially future-proof. Even the brightest TVs today rarely hit 4,000 nits, so this device will last you for years.
The software (Calibrite PROFILER) is modern and sleek. It offers “advanced” modes where you can tweak every single parameter.
I found the shadow detail recovery on this device to be slightly better than the Datacolor, likely due to the highly sensitive sensor designed for OLEDs.
Pros:
Future Proof: Measures up to 10,000 nits.
OLED Ready: specifically tuned for new display technologies.
USB-C Native: Connects easily to modern Macs and laptops.
Advanced Control: Total control over white point, luminance, and contrast ratios.
Cons:
Price: It is the most expensive option on this list.
Overkill for Basics: If you have a standard 1080p monitor, you don’t need this much power.
Verdict: The gold standard for professionals. If you use an OLED screen or do high-end video grading, do not settle for less.
How Does a Monitor Calibrator Work?
The Process is Simple:
Hang the device: You place the sensor on your screen.
Run the software: The software flashes different colors (Red, Green, Blue, Grey) beneath the sensor.
Measure: The sensor reads the actual color your screen produces.
Correct: It compares the reading to the true color standard and creates a translation map (called an ICC Profile).
This profile tells your graphics card exactly how to adjust the signal so your monitor displays 100% accurate color.
Why You (Probably) Need One
You might think, “My monitor is brand new, surely it’s accurate?”
Unfortunately, no. Most manufacturers enhance saturation and contrast to make screens stand out on a showroom floor. This looks impressive, but is terrible for accuracy.
Who needs this tool?
Most of us trust our screens blindly. We assume that “white” is white and “red” is red.
However, the truth is that most monitors—even high-end ones—come from the factory with cool (blue) tints to make them appear brighter in the store. Over time, their backlights fade, and colors shift.
If you are selling products online, editing photos for clients, or just want your gaming world to look like the developers intended, you are likely seeing the wrong colors right now.
Online Sellers: If you sell clothes or art on Amazon/Etsy, accurate color reduces returns. You don’t want a customer returning a “red” shirt because it looked “orange” on your computer.
Photographers: To ensure your edits aren’t compensating for a blue-tinted screen (which makes your photos look yellow on everyone else’s phone).
Gamers: Modern games use HDR and dark shadows. A calibrated monitor reveals details in dark caves or bright skies that you would otherwise miss.
How to Use Your Calibrator for Best Results
Buying the device is step one. Using it correctly is step two. Here are the golden rules for getting a perfect calibration.
1. Warm Up Your Monitor
Never calibrate a cold monitor. Turn your screen on and let it run for at least 30 minutes before starting. Backlights change color as they heat up. If you calibrate cold, your colors will be wrong once the screen warms up.
2. Reset to Factory Defaults
Before hanging the sensor, navigate to your monitor’s menu buttons (OSD) and reset everything. If you have manually adjusted the “Red/Green/Blue” sliders, reset them. Set the contrast to the default (usually 50% or 75%).
3. Dim the Room
Light hitting your screen will confuse the sensor. Close the blinds and turn off overhead lights. You want the sensor to read light coming from the monitor, not light reflecting off it.
4. Turn Off “Smart” Features
Disable any auto-brightness, “Night Shift” (Mac), or “Night Light” (Windows). These features actively change colors based on time of day, which defeats the purpose of calibration.
Basic Tips for You
When shopping for a calibrator, ignore the jargon and focus on these three things:
1. Nits (Brightness) Handling
“Nits” is the measure of brightness.
Standard office monitors: 300-500 nits.
Apple XDR / Gaming HDR monitors: 1,000-1,600 nits.
Future OLEDs: 2,000+ nits.
Advice: If you have a standard screen, the Calibrite Display 123 is fine. If you have a high-end HDR or Apple display, you should consider the Datacolor Spyder X2 Ultra or Calibrite Display Plus HL.
2. Ease of Software
Do you want to tweak curves? Or do you just want it to work? Datacolor’s software is very guided (Step 1, Step 2, Step 3). Calibrite’s “123” software is literally just one button. Be honest about your patience level.
3. Longevity
Organic filters in older calibrators used to degrade after 3-4 years. Modern devices, such as the Display Plus HL, utilise advanced glass filters that last significantly longer.
If you want to buy once and keep it for 10 years, spend the extra money on the HL model.
So, do you really need one?
If you only use your computer for spreadsheets and reading the news, you can skip it.
But if you edit photos, create videos, design graphics, or sell products online, a monitor calibrator is not a luxury—it is a necessity.
It is the only way to ensure your hard work looks the same to the rest of the world as it does to you.
For the best value and performance: Go with the Datacolor Spyder X2 Ultra. It handles modern bright screens perfectly and sits at a great price point.
For absolute simplicity: Grab the Calibrite Display 123.
For OLED and High-End Professional work: Invest in the Calibrite Display Plus HL.
Don’t let your monitor lie to you. Calibrate it once, and you’ll wonder how you ever worked without it.
Conclusion
Ultimately, calibrating your monitor is about one simple thing: confidence.
It removes the nagging doubt that your photos or videos might look “off” to everyone else. Instead, it gives you the freedom to create, watch, and play, knowing exactly what you are seeing is real.
It is a small step that brings a huge sense of satisfaction to your digital life. Once you see your world in true, vibrant color, you will wonder how you ever settled for anything less.
FAQ
Does calibration affect my gaming FPS or computer performance?
No. A color profile is a tiny file (a few kilobytes) that loads when your computer starts.
It instantly updates the “lookup table” (LUT) in your graphics card. It uses zero background processing power, CPU, or GPU resources. So your gaming frame rates (FPS) remain exactly the same.
I calibrated my screen, and now it looks “yellow.” Is it broken?
This is a very common optical illusion, not a defect. Uncalibrated monitors are usually manufactured with a strong blue tint because blue looks “brighter” to consumers.
When you correct it to a neutral standard (D65), your eyes—which have adjusted to the blue light—perceive the neutral white as yellow or red.
Use the monitor for 2 days; your eyes will adjust, and the “yellow” will turn into a pure, soft white.
Do I need to keep the device plugged in at all times?
No. You only plug the hardware in when you are actively performing the calibration (every 2–4 weeks).
Once the software creates the profile, you can unplug the device and store it in a drawer. The computer retains the settings even when the hardware is not attached.
Will this work on my iPad or Android tablet?
You cannot plug the USB device into a tablet to calibrate the system itself. Mobile operating systems, such as iOS and Android, do not currently support system-wide ICC profiles from external sensors.
Some specific app-based solutions exist for viewing photos, but they do not correct the screen for apps like Instagram or YouTube.
Does the ambient light in my room really matter?
Yes. If your room has a bright window, the changing sunlight changes how you perceive the screen’s colors (a concept called “chromatic adaptation”).
For critical work, it is better to close the blinds and use a consistent artificial light source than to rely on the calibrator’s “ambient light sensor,”. This can constantly adjust your screen brightness and distract you.
What is “Soft Proofing” and do I need it?
Soft proofing is a feature that you can use after calibration. It simulates how your photo will look on paper (or on a specific printer) before you print it.
If you sell physical prints or merchandise, this saves you money by revealing if your “bright red” design will look dull when printed on matte paper.
Can I share one calibrator with my friends or team?
Technically, yes. The hardware is not tied to a single computer. You can use a single device to calibrate your desktop, laptop, and your friend’s computer. However, please check the software license agreement.
Typically, brands like Datacolor permit installation on multiple machines within the same household. This makes it a great shared tool for small design teams.
Do monitor hoods actually help, or are they a gimmick?
They are very helpful for color consistency. A hood acts like a visor, blocking overhead lights from hitting your screen.
This “glare” reduces contrast and makes blacks look grey. By blocking that light, the calibrator can read the monitor’s output more accurately, ensuring your dark shadows are calibrated correctly.